|
I picked up a Breting 12 and a home made speaker on one
of the newsgroups about three years ago. The guy I bought it
from told me that the radio had been painted blue and had a
homebrew matching blue speaker. The price was $100 plus
shipping to Arizona from California so I went for it not
realizing the rarity of Breting receivers at the time.
Fortunately the two pieces were only only coming from
California as the two pieces are pretty heavy so shipping
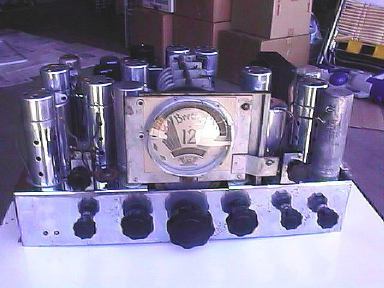
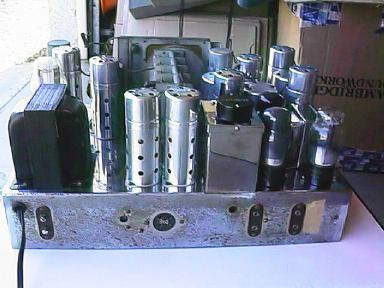
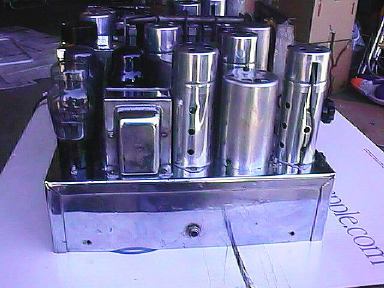
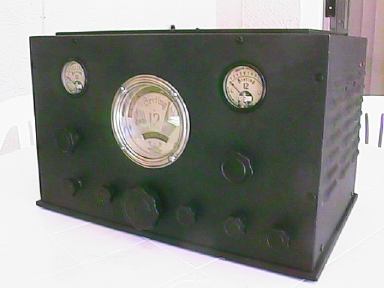
was not bad. The radio weighs around 60 pounds and is very
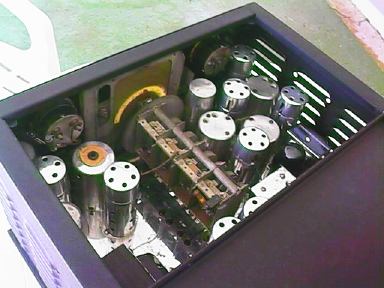
well built. With it's 12 tubes and chrome chassis it is
built in the style of the Scott receivers of the 1930's with
performance to match.
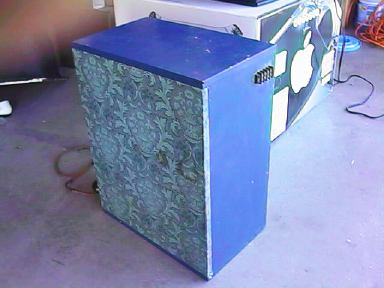
The unit sat in my garage until last June when I looked
at it in it's sad blue state and considered getting rid of
it due to having to many projects. Not only was the radio
painted blue, but the knobs and escutcheon had been
tastefully? painted gray.
Of course I could not get rid of it with out seeing if it
worked. After doing some preliminary checks, I applied power
and it sort of worked. It had a very badly messed up volume
control. After getting some de-oxit into the control, the
problem went away and the radio sounded really good. In fact
the audio with it's homebrew speaker sounded better than my
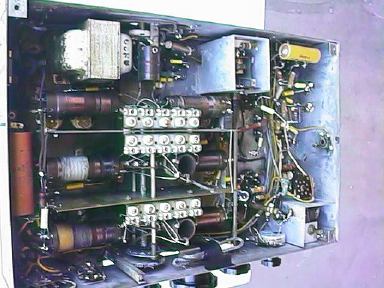
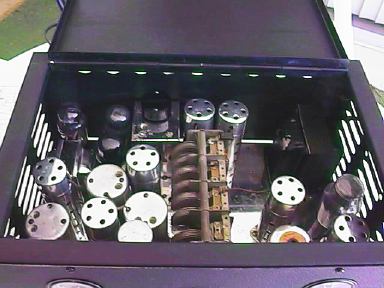
SX-28/PM-23 combination. The audio section of the Breting 12
uses a pair of 42's driven by a 42. The rest of the radio
consists of 6D6's, a 6C6 and several 6B7's. I decided at
this point to keep the radio.
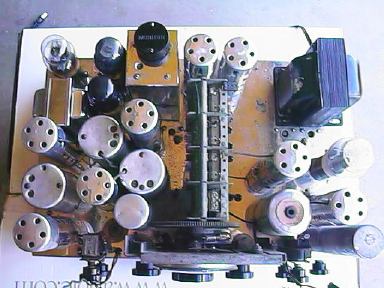
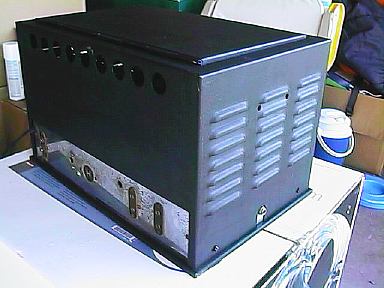
I disassembled the unit from the cabinet and began to
work on the electronics which amounted to recapping it and
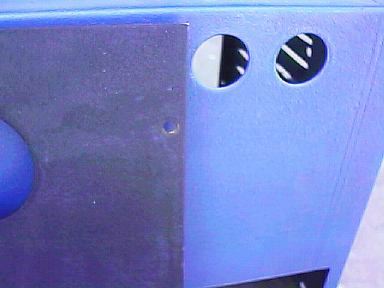
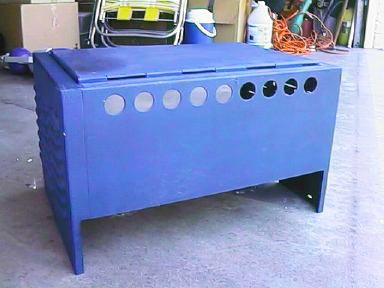
replacing 2 bad tubes. The real problem was the cabinet with
it's blue paint. When I was into model railroading, I used
to paint models with an airbrush. When I screwed up, I would
strip the paint job off with brake fluid which would not
harm the plastic. I decided to try it. If it took off the
original paint, than I would have to repaint the radio. If
it worked, than great! I had nothing to lose at this point.
I first tried the brake fluid on the base and volia! It took
off the blue paint and beneath it was the original black
wrinkle finish. I had to use a couple of applications of the
brake fluid and do some scrubbing with a scrubber pad. After
cleaning and washing off the brake fluid and drying the
piece in the sun, I cleaned it again with WD-40. The base
looked pretty good. Next I did the panel and it turned out
great. I was not able to get 100% of the blue paint off.
What remained though is nearly invisible and I would likely
have to point it out or you would not see it. The final
piece was the cabinet and it was quite a bit of work due to
it size and all of the louvers but it also came out looking
good.
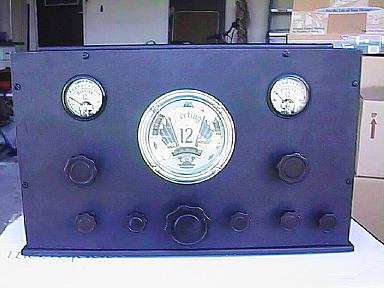
The radio had been modified. One of the former owners
decided to do away with the tone control which was a pot on
the ac on/off switch and replace it with a multi-position
switch to the right of the tone control. This required
drilling another hole. I decided to leave this alone as it
worked OK and does not look that bad. The Breting 12 like
the RME69 has no panel markings so the extra control is not
that big of a deal. It would have been nice if he had been a
bit more careful in centering the hole in line with the
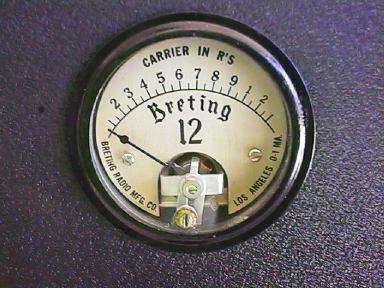
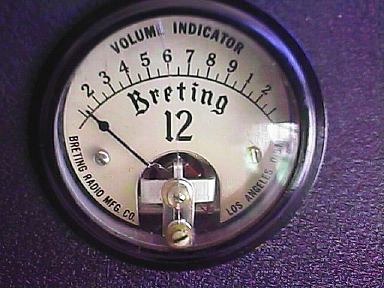
other controls. The paint on the meter casings was pretty
badly chipped. I cleaned this up with a permanent magic
marker and they ended up looking very nice.
The radio plays great and really sounds nice. It also
sounds good on CW and has a excellent crystal filter which
is superior to the National and Hallicrafters receivers I
have of the same vintage. The only problem I still have is
that I have been unable to get the dial to track across the
bands. I have spent no less than 20 hours fiddling with the
padders and trimmers and not have not been able to get this
right. I am open to suggestions. Meanwhile, I buttoned the
radio up and decided I would come back to this later as I
was just getting frustrated. If you have any suggestions on
this, please e-mail me at: n7rk@cox.net
Here are some photos of my Breting 12. I neglected to
take a picture of it with it's blue paint but you can get an
idea from the photos. I have an older digital camera so the
photos are mediocre at best. The radio looks much better
than the pictures. Dave
|